
Window Valance Box DIY: How to Make a Cornice Board the Easy Way

Making a window valance box is easy if you follow this DIY tutorial. A cornice board is a simple addition to your window, giving it just the amount of interest and color! I will show you exactly how to make your own window box with foam in just a few hours time.
What Is a Box Valance Called?
There are many different terms thrown around, but generally speaking, they mean the same thing. Cornice board, valance, window box… A cornice board window box is mounted above a window and is often made from wood such as plywood then covered in batting and fabric and mounted to the wall. It can be mounted over drapery or blinds. A valance is a loose fabric that’s mounted above the window like a cornice, but it’s fabric that hangs softly rather than being tightly mounted to a board.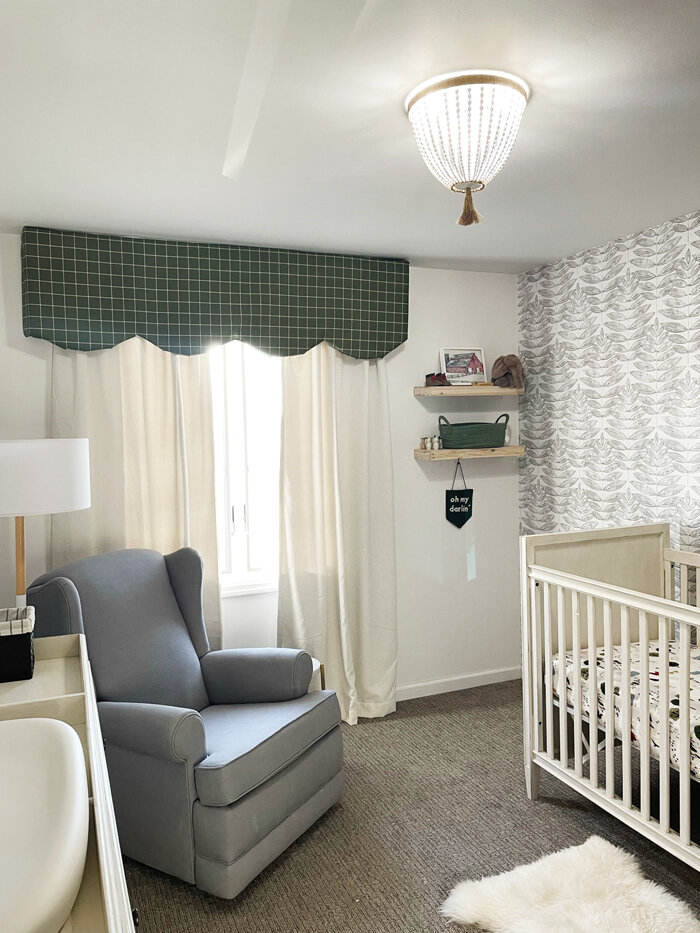

I know what you may be thinking. Are cornice boxes outdated?
Cornice boards are a modern window treatment and can be used with any home decor style as a way to elevate the room. While cornice boxes are used in traditional decor often times and therefore they have the thought of being “outdated,” I think they are a fun and beautiful element. I especially love using them in nurseries as a way to bring in more color and pattern.
When I was planning our nursery design, window treatments are obviously an important decision because you want to block out as much light as possible for nap time and nighttime. We chose to keep our nursery fairly neutral overall using mostly greys and creams and then incorporating a gender neutral color, green. Green can go either boy or girl and I thought it spiced up the otherwise neutral palette that can go a bit boring on its own.
I chose to go with light cream colored blackout drapery for the window, but once it was hung, it felt a little bland. I didn’t want curtains that were printed or too colorful because they can get expensive when custom made and I felt like it would be too dramatic to have full panel curtains in such a statement color. I needed something that would dress up the window but was simple and inexpensive to make. A window valance box was the perfect solution!
With about $25 and a little time, our $50 curtains got a major upgrade and look much more expensive than they were! There are many wooden valance box tutorials, but using foam is even easier and cheaper to make for the exact same thing.
Materials:
Styrofoam – I got mine for free from a warehouse that receives lots of packages, but you can buy some at Home Depot for under $15
Staple gun and staples
Fabric – I got the green windowpane fabric from JoAnn’s
How to Make a Window Valance Box
1. You must first determine what size of cornice box you want. Personally, I like to mount the cornice board as close to the ceiling as possible to give the room some height so it appears the windows are taller than they actually are. Our ceilings in the bedroom is only 8’ high, so we can use the appearance of taller ceilings.
Usually I aim to mount the cornice about 1-2 inches below the ceiling. The width for the cornice is a similar concept. I make it wider than the window so that the window feels larger, but also so that the curtains can be pulled open and sit on the wall, rather than sitting in front of the window and blocking light. A good rule of thumb is about 6-12” outside the window trim on each side. We used an extension rod and went the max width leaving us about 6” on each side of the window. Take into account the returns on both sides and how deep you would like it. You want it to at least clear the window trim and any rods or blinds that will be mounted on the window. The overall dimensions of my cornice board were 72 inches long by 18 inches high and the corner returns were 6 inches deep.
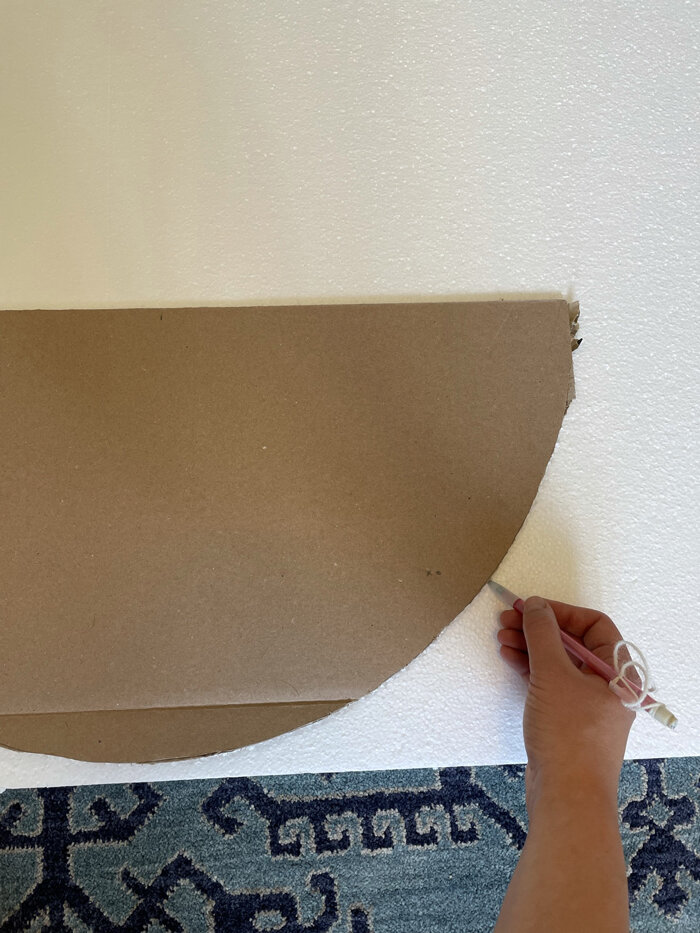
2. I decided to go with a scalloped edge on the valance box bottom edge to give it a little extra flair. It’s best to make a template of your design first before you begin cutting your styrofoam or wood. Using a compass or a string and pen, draw out your circle template on a long piece of scrap paper or cardboard. It may take a couple attempts to get the scallops sizing right to run the length of your cornice board. I used a pencil and string to make a half circle for my scallop template out of cardboard. My scallop design didn’t come out exact, but it was close enough and you will never be able to tell unless you get a measuring tape out.
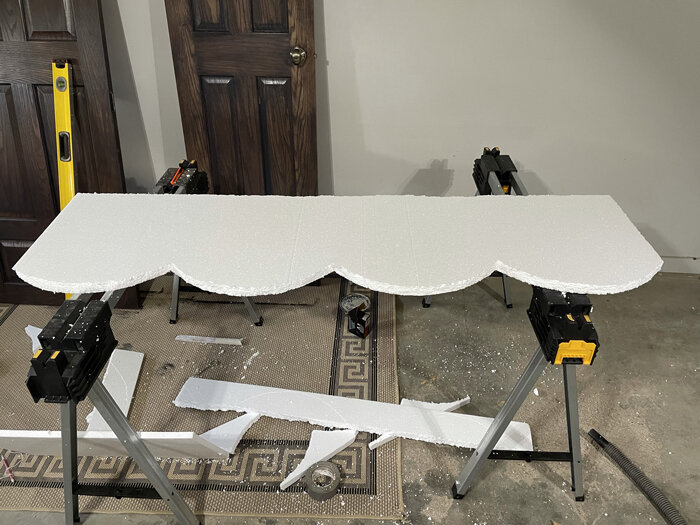
Once you’re happy with your template, trace it onto your piece of foam. I had four total scallops.

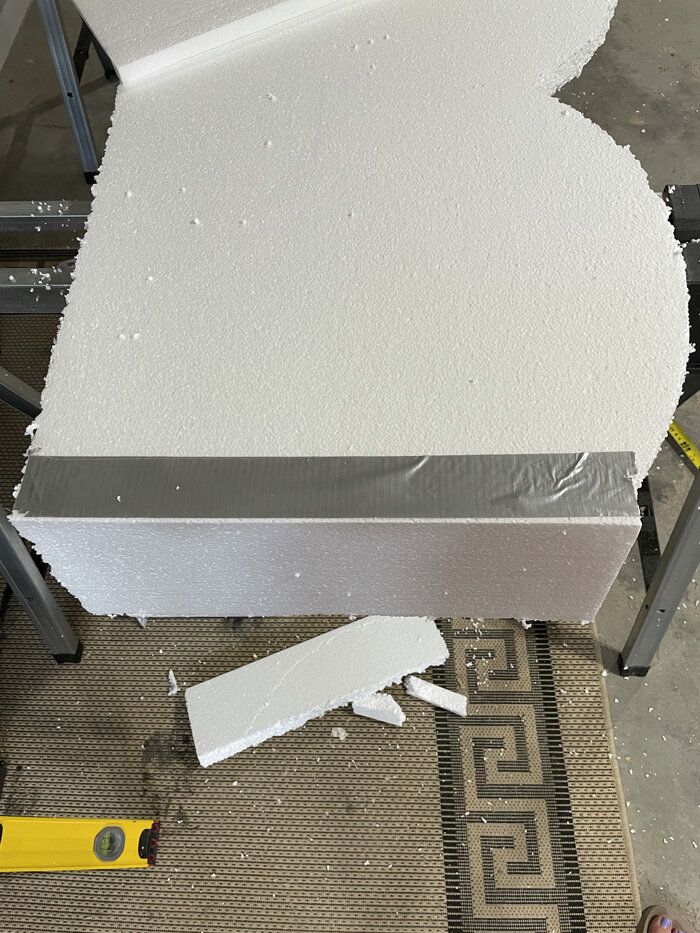
3. Using a utility knife, cut out your shape you traced on your foam board. Beware, foam is quite messy when cutting! I did it in the garage so it was easier to clean up. The cut edges don’t need to be perfect. It will be covered with batting and fabric which hides any unevenness.


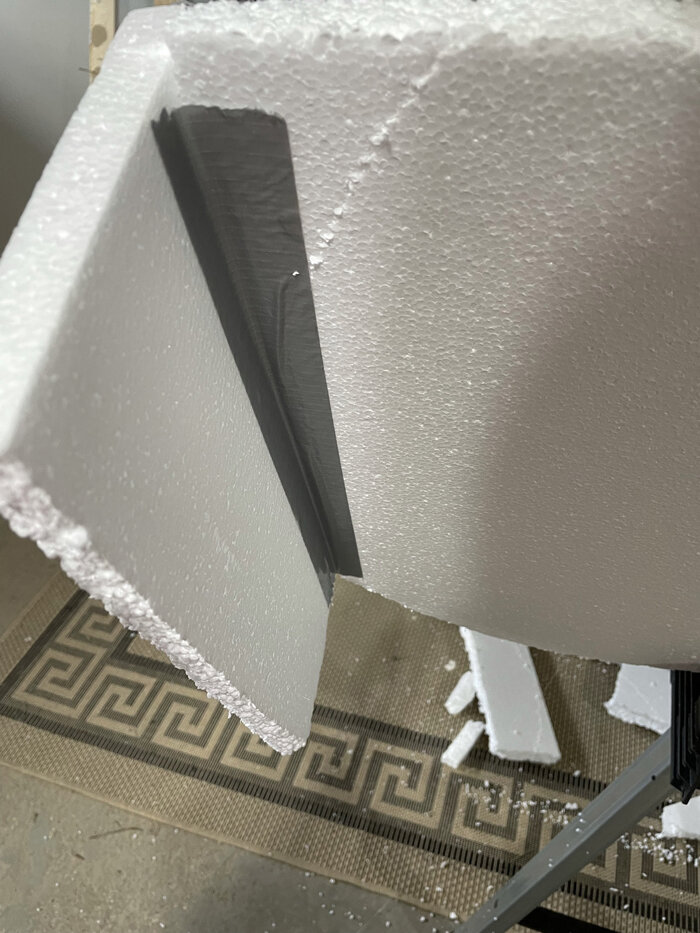
4. To make the two end returns, cut 2 foam pieces to size and use duct tape to reinforce the backside and frontside of the foam.


5. Cut a piece of batting that’s a few inches longer than the box on all sides. Then take your staple gun and nail down batting on the back side of the box. You want staples that are long enough to nail through the batting into the foam.
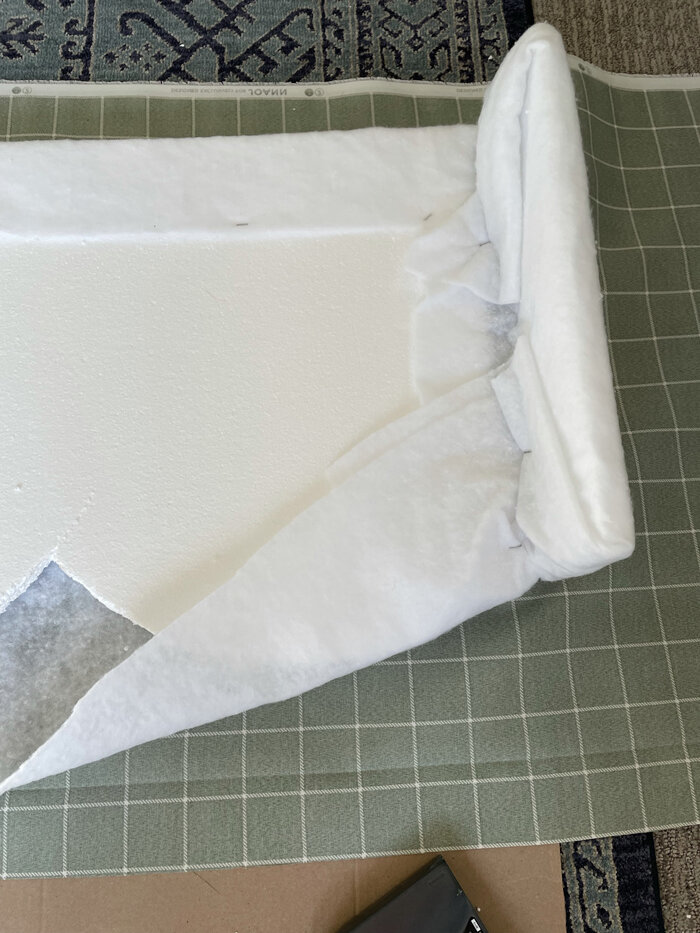

6. To make batting taut around the scallops, cut a slit in the batting between the scallops and fold batting around scallops.
7. Using your fabric, repeat steps steps 5-6 as you staple your fabric to the box over the batting, ensuring it’s all smooth on the frontside and pulled tight. My fabric was outdoor fabric so it was a little thick, especially around the 2 side panels with the batting and fabric folded over. To help hold down the fabric in areas where the staples weren’t quite long enough, I used a little hot glue.


How Do you Hang a Box Valance?
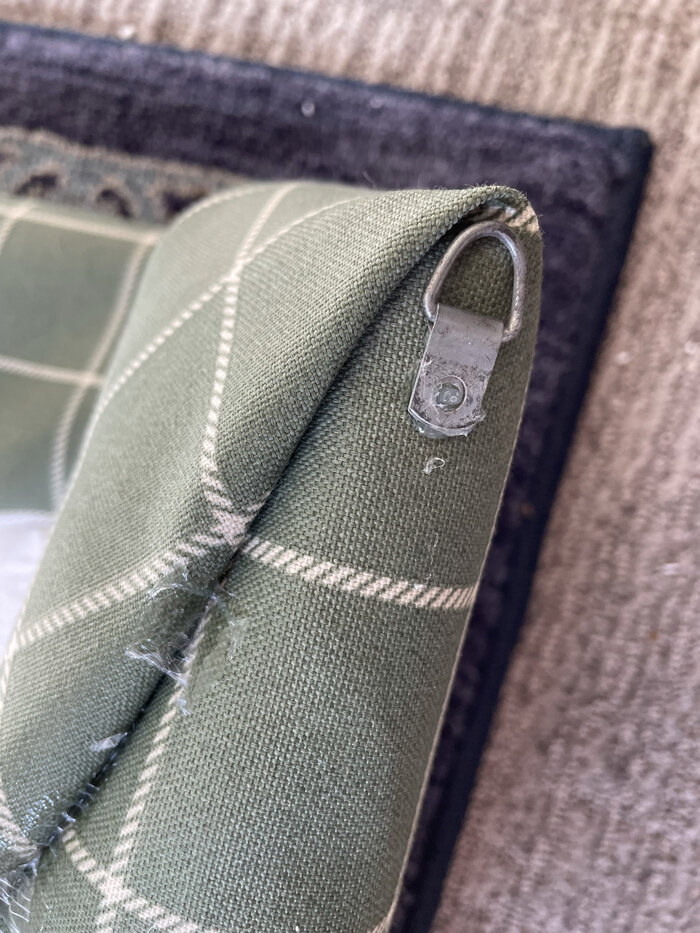
The benefit of making your window valance box out of foam is it’s so lightweight and easy to hang! You don’t even need wall anchors. I hot glued two hooks on the back of the cornice so it could simply clip up on two nails in the wall. The hot glue on the hangers ended up not holding, so I would recommend sewing on your wall hangers to ensure they are secure.
Note: My cornice board got a little heavy to hang since it’s quite long so the styrofoam isn’t super stable. I would recommend using foam on cornice boards that are shorter than the one I made so that your styrofoam doesn’t get bendy and will hold.


