Bedroom Layout: How to Arrange Furniture

Welcome to week 4 of the One Room Challenge! A group of bloggers and I are tackling one room in 6 weeks and sharing weekly progress.
Here’s a little recap of the past 3 weeks if you missed my previous blog post updates:
Week 1 – Large Master Bedroom Ideas & Inspiration
Week 2 – Gone on vacation in Hawaii
Week 3 – Bedroom Design Plan: How to Design a Room From Start to Finish
This week I’m diving into our bedroom layout and how to arrange furniture. Maximizing space and having a layout that makes sense for our everyday life is key. I never want random furniture in our room that we won’t ever use, so I want to make sure I’m intentional with every piece.
When creating a furniture layout, start by finding where you want your larger pieces of furniture first, then the smaller items can work around that. I started by figuring out where I wanted our bed located.
Last week when I shared our master bedroom makeover plans, I wrote in detail about how to design a room. In that blog post I talked about how to actually draw up a floor plan layout so you can space plan and figure out where you want furniture to go in your room. Using a free app like floorplanner.com or even just sketching it by hand on paper is helpful to draw up different layouts so you can see which one you like best.
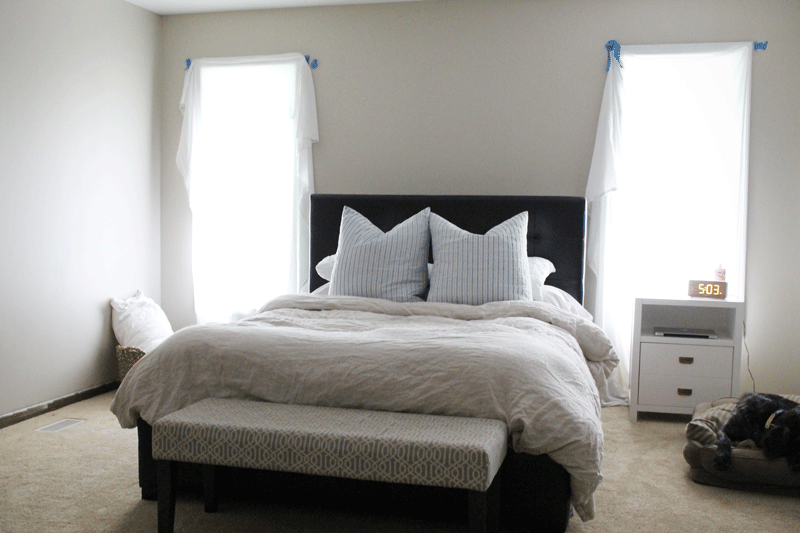

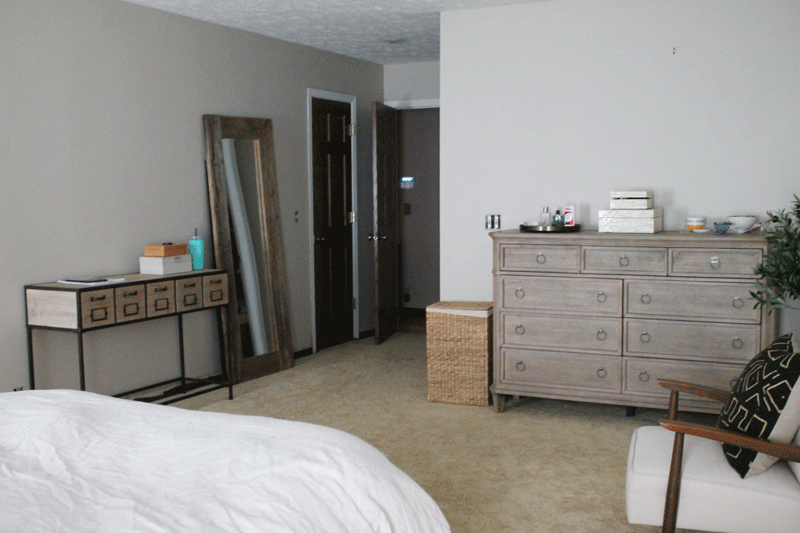
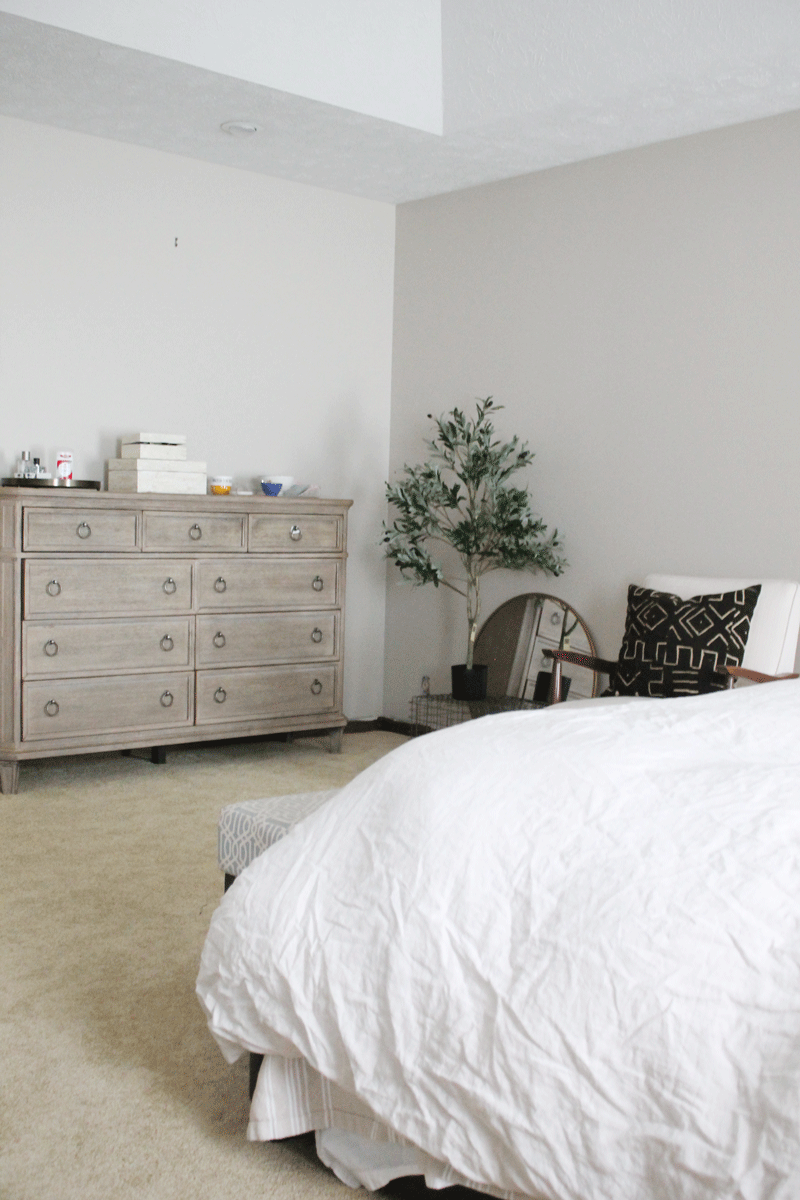
I like the bed between the two windows because I like walking into the bedroom and walking towards our bed. Then on the opposite side of the room from our bed is our dresser.
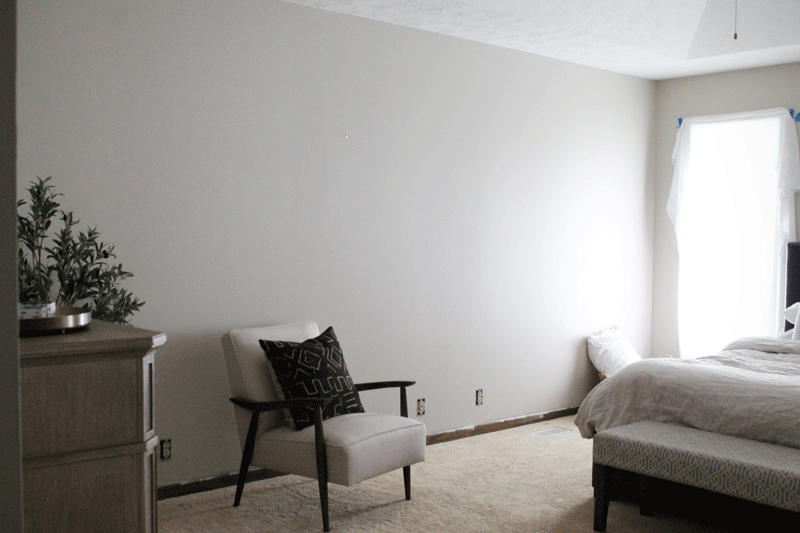
On the long wall, we have one accent chair and will have a side table. Bria likes to sit in the chair and it’s nice to be able to drape clothes there instead of just laying them on the ground if I don’t get to putting them away immediately. I added a bench at the foot of our bed because I like the extra place to set things and it’s nice to have a spot to sit when putting on shoes.

In the progress photos below you can see the nightstand I went with. We will have a matching one on the other side of the bed, I just haven’t assembled it yet. Eventually, we’ll upgrade to a king size bed, so I had to make sure our nightstands are narrow enough that a kind size bed width would still fit with two nightstands on either side of the bed.
One piece of furniture we got this past week was the dresser. In my inspiration photos I fell in love with this Restoration Hardware dresser but wasn’t willing to spend that much, so I’m happy that I found a dresser that is very similar for under $400!

Another update you’ll notice is paint. I hated the purple-y gray color it was before, so a nice coat of Accessible Beige from Sherwin Williams did wonders. I LOVE the color and it’s exactly what I wanted. It feels warm and cozy without feeling dark. In some daylight it can even look a little greyish, so it’s definitely not aa gross beige paint color. The difference paint makes never ceases to amaze me.
I ordered blinds for the windows finally so we can take down our makeshift curtains using sheets and nails soon ha. I just need to finish painting all of the wood trim around the windows and then painting the baseboards too. We want to install hardwood floors in our bedroom that match the rest of the house and get rid of the carpet, but w’e’re saving up that so it’ll happen down the road.

We have two fairly large walls to fill so I wasn’t sure exactly what I wanted to do for art. I was afraid one piece of art on the wall with the chair would feel tiny, so I decided a gallery wall was the best option because it would fill the space more. I ordered Ribba frames from IKEA in white and will print black and white photos to frame. The frames are under $15 each including the mattes, so you can create a large gallery for a great price!
I did get a new ceiling fan light that needs to be installed and I need to hang the round gold mirror above the dresser and I’m waiting for the bedside table lamps to arrive. Besides hanging those and the art and blinds when they arrive, I really only have accessories and a rug left to get!
I’m pleased with how the room is coming along and can’t wait to finish it in a couple weeks!
Make sure to check out all the amazing designers and other guest participants in the One Room Challenge! There’s a huge variety in rooms and styles so it’s fun to see everyone’s ideas.